I’ve recently been playing with Directus as a backend for some small projects. One of the great features that Directus provides is translation support which I decided to try out. Unfortunately, it when it came to the setup I couldn’t find much documentation on this so it took me a bit of read and some trial and error to figure it out.
This articles shares my findings and shows how easy it is to setup.
Setup your collection
Select an existing (or create a new collection) that you want translations for. Don’t add any fields that need translations just yet!
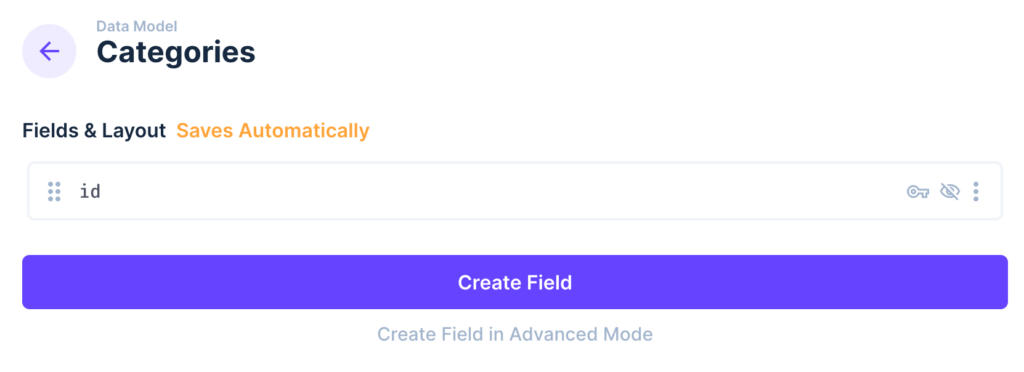
Next, click on Create Field and choose the ‘Translations’ type field:
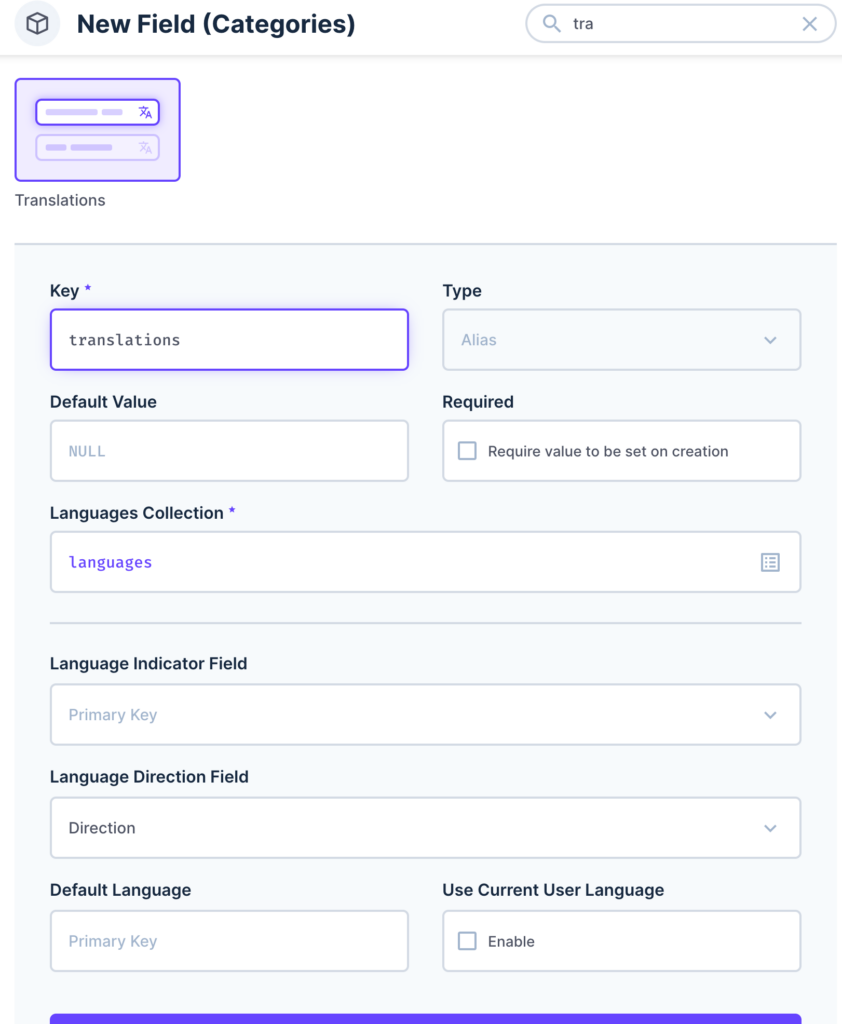
If you like you can modify some of the field configuration by clicking the Continue in Advanced Field Creation Mode. For example I prefer using UpperCamelCase for my table names, so I modified the languages table name to Languages
Setup Translation Fields
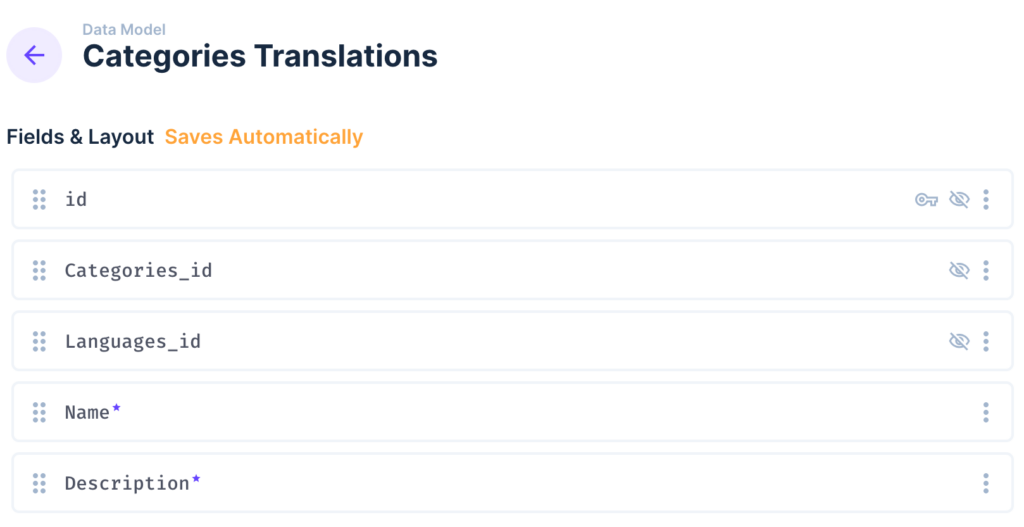
Once you’ve done that go back to the Data Model screen. Here you’ll see a new hidden collection, in my case Categories Translations

Click into the Categories_Translations table, and within this collection add all the fields for Categories that need translations. e.g.:
Add Translated Content
Now, go to the Content menu and choose your collection. You’ll see the fields you’ve added to the Translations table appear with the option to fill them out in different languages.
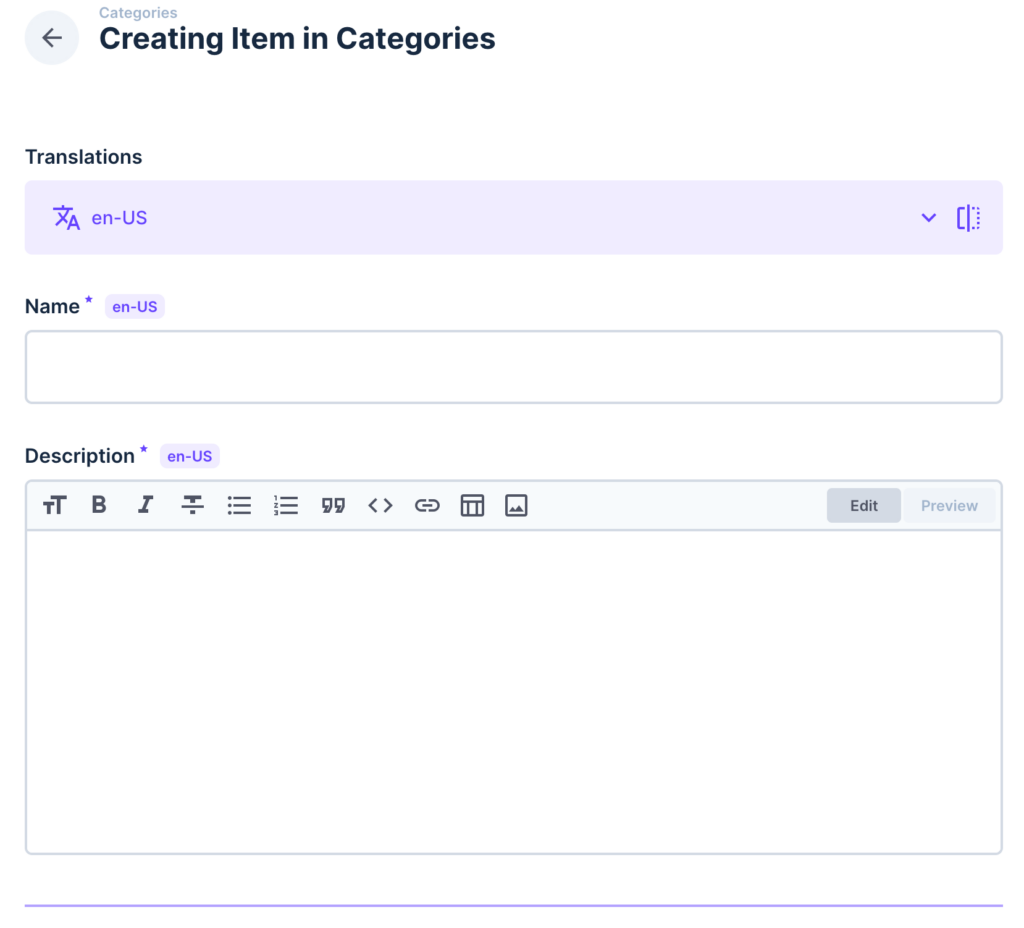
Here you can use the Translations input to select a language, and then use the input fields below to populate the content in your selected Language. There’s even a split view which is very handy if you’re translating content from one language to another.
Managing Languages
You can control which Languages appear by modifying the entries in the Languages collection. By default Directus populates that table with 8 common languagues.
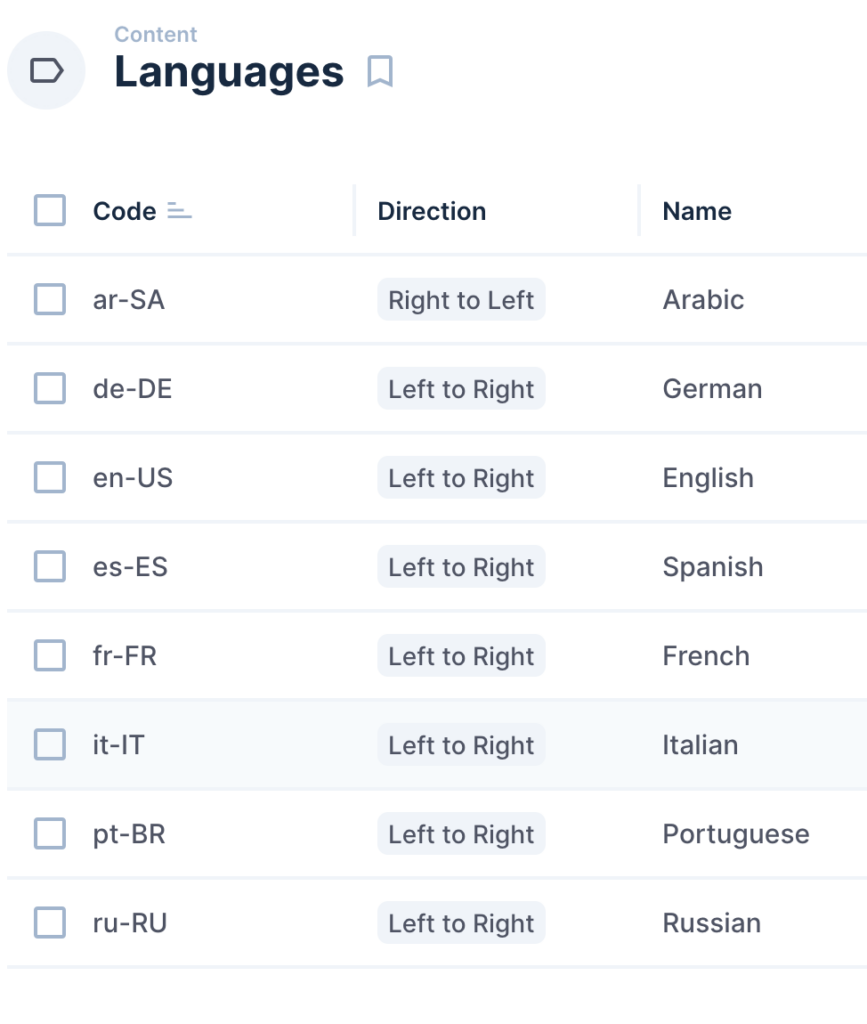
Hopefully this demonstrates how easy it is to add translated content in Directus. Of course, if there’s fields that don’t need translation you just add them in the parent table – in this case the Categories collection.
